Hello again from the media department here at Wilderness North.
March break is over and the first day of spring has come and gone. It’s a perfect segway into my next article, except there’s no sunshine. Figures… I’ll write it anyway.
Through my observation of photographs here, I’ve noticed wonderful sunsets with subjects in silhouette. I can’t help but wonder if these were accidental or on purpose?
Almost all cameras, whether professional or point and shoot, have a light meter. Your camera’s light meter determines what shutter speed and aperture it needs to take a properly lit photo. Think of it this way, a photograph into the sun will almost always under expose everything else in the scene, like a fisherman in silhouette against a beautiful setting sun…Although if you focus on and shoot your subject, your sunset will be over exposed.
Now you that you know why these shots look the way they do. Here are three things you can do to ensure your success.
1. Planning and Researching:
We all instinctively know when the sun is going down. This is not going to be enough for a great photograph. The time of year and weather have major roles in producing a sunset to remember.
Plan to be at your chosen location an hour before and an hour after the setting sun. The perfect light happens to be in the hour it takes for the sun to completely go down.
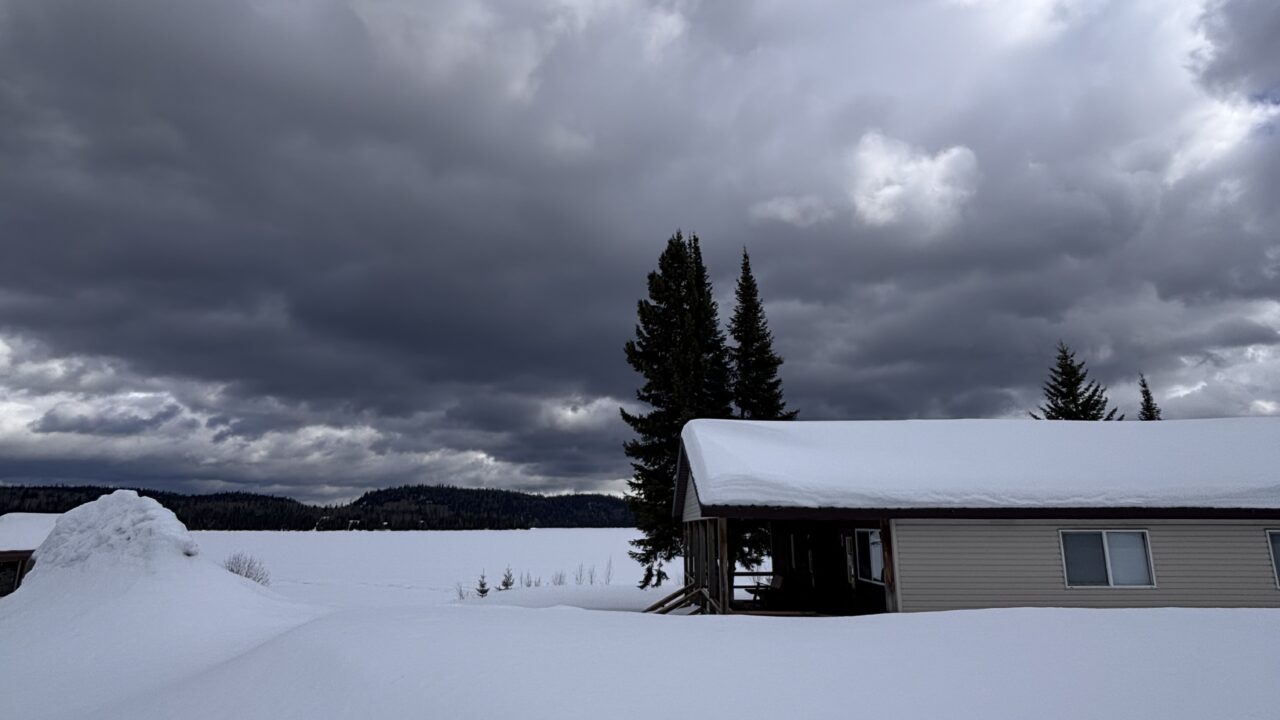
Also check the weather forecast’s satellite images for overcast sky on the horizon. Now this might sound counterproductive, but cloud holds back some of the sun’s rays and reflects its golden colours. A clear sky will be overly bright causing flare and a bare upper horizon with no colour.
2. Support your camera:
I’ve been told by seasoned photographers that the best tripod in the entire world is the one you have with you. The point being if you don’t have it, it’s useless. Now I assume we don’t all have tripods. In this case use what you can to sturdy the camera. Leaning up against a tree or even resting your camera on the ground or vehicle you’re in, keeps your shots from being blurred.
3. Composition:
In my prior article I wrote about not placing subjects in the center of the photograph. The same rule applies here, with a little more emphasis on your foreground and background elements. If the sky has lots of colours and detailed clouds keep the 2/3rds of your shot in the upper portion of the horizon. If you have interesting or important elements in the foreground have the bottom 2/3rds showing. If you split the horizon, make sure you have a subject to draw attention away from the symmetry.
Remember that these are just tips to enhance your photography, not rules set in stone. Get out, try different things and never let anyone tell you that you’re not a photographer. The moment you snap that photo you’ve become a photographer, it’s that easy.
Until next time, have a warm beautiful spring along with beautiful photographs
Clarence